I’ve been making a bunch of progress on training Style GANs via Runway ML!
I also have to give a lot of credit to Kevin Yeh for helping me out a lot for navigating the MyFonts Developer API and OpenCV (and pretty much lots of other life things)
The pipeline for generating this StyleGAN was as follows:
Download the dataset in PNG form through MyFonts API
Process the images via OpenCV in Python
Upload the dataset to Runway ML to train model
First Attempt:
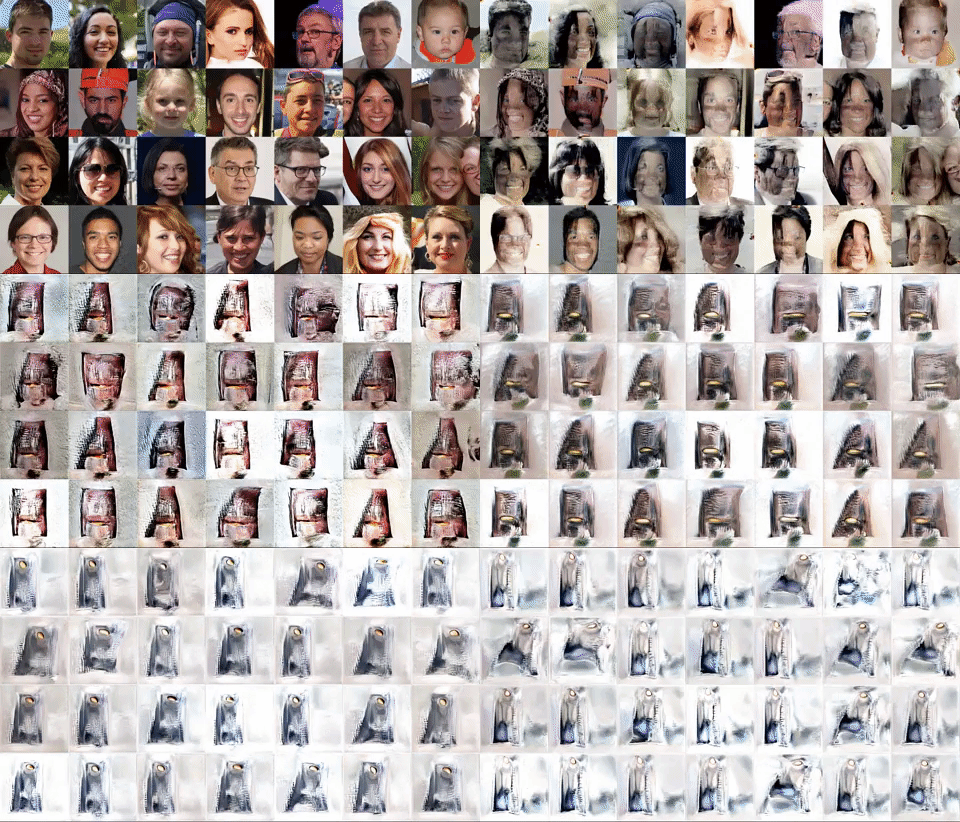
Not great. Turns out the 500 or so images that I gave for training the StyleGAN model was too low res (about 100px tall), and it produced a random looking set. The optimal for this model is a 1024px square.
First (disastrous) attempt
Latent space walk for the first draft… it’s a ghost!
Second Attempt:
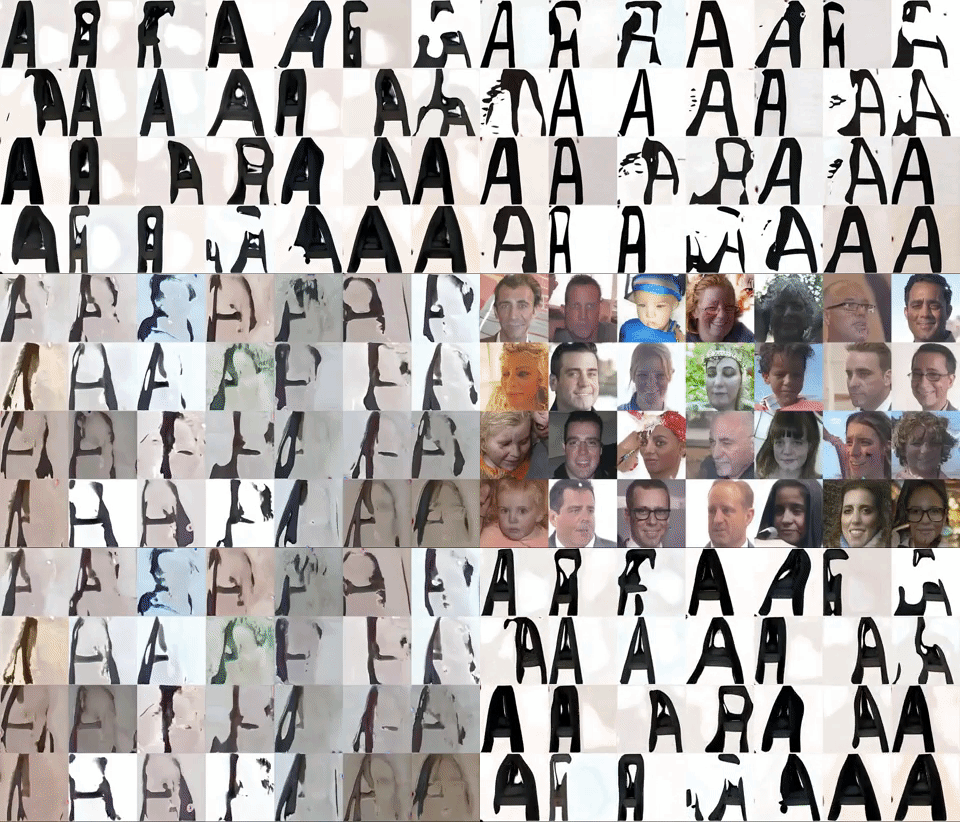
I trained the model on the same images, except modified the Python scripts to give me a much higher res than before, about 700 px high or so. It’s not 1024, but the results were much better. The initial model from Runway is trained on faces from Flickr, so you can see an uncanny series of images where faces turn into letters…
Second attempt! Better with better resolution images
Third (and latest) Attempt:
This time, I continued training the above model with many, many more images — about 24,000 in fact! As Yining mentioned in class, getting and debugging the dataset was where the majority of work was.
Process for gathering dataset:
Figure out ids of all fonts under the category of ‘sans-serif’
About 6,000 families, with each style the number it turns out to be over 50,000!)
Download sample images with the word ‘ASH’ rendered
Label the downloaded images with the original name and style
Filter out undesirable data
Filter by name labels
Didn’t want a slant factor (e.g. Obliques and Italics)
Mislabeled Categories (e.g. slab serifs, handwriting, serifs)
Overly Decorative Categories (e.g. inline, shadow, layered)
Filter Manually (sadly by scrolling thumbnails)….
Wrong data (e.g. dingbat fonts, tofu characters, inaccurate encoding)
Anything that didn’t get filtered via name
Process image data (via OpenCV Python)
Get rid of surrounding white space and crop it by bounding box
Make image 1024 x 1024 by scaling & adding white pixels as necessary
During this process, also filter out images that are too high or too wide that might skew result
In the end, I ended up with about 24k sample images.
Voila! And this is what it currently looks like:
Latest model, trained on ‘ASH’
Latent Space walk for the above model
Some thoughts for next time:
Perhaps the result is too uniform, maybe I filtered out too much or should’ve added more categories to make it more interesting?


